Deploying the Toggles for Outlook Add-in for a Shared Mailbox
If you're an IT admin or part of an organization using shared mailboxes, deploying the Toggles for Outlook Add-in can help streamline workflows and improve team productivity. By using the Integrated Apps page in Microsoft 365, you can deploy Toggles to both individual user mailboxes and the shared mailbox itself.
Why Deploy Toggles for Outlook on a Shared Mailbox?
Deploying the Toggles for Outlook add-in for shared mailboxes ensures that both individual users and the shared mailbox can automate email workflows, use templates, and apply other actions seamlessly. This approach provides consistency and efficiency for teams using shared inboxes to manage communications.
Key Benefits:
- Automate repetitive email tasks across all users interacting with the shared mailbox.
- Ensure consistency in email templates, signatures, and workflows.
- Centralized management for monitoring and tracking deployment.
Step-by-Step Guide to Deploy Toggles for Outlook Add-in to a Shared Mailbox
Follow these steps to deploy the Toggles for Outlook add-in to both user and shared mailboxes in your organization.
Step 1: Access the Microsoft 365 Admin Center
Log in to your Office 365 Admin Center with your admin credentials to begin the deployment process.
1. Go to the Microsoft 365 Admin Center: admin.microsoft.com
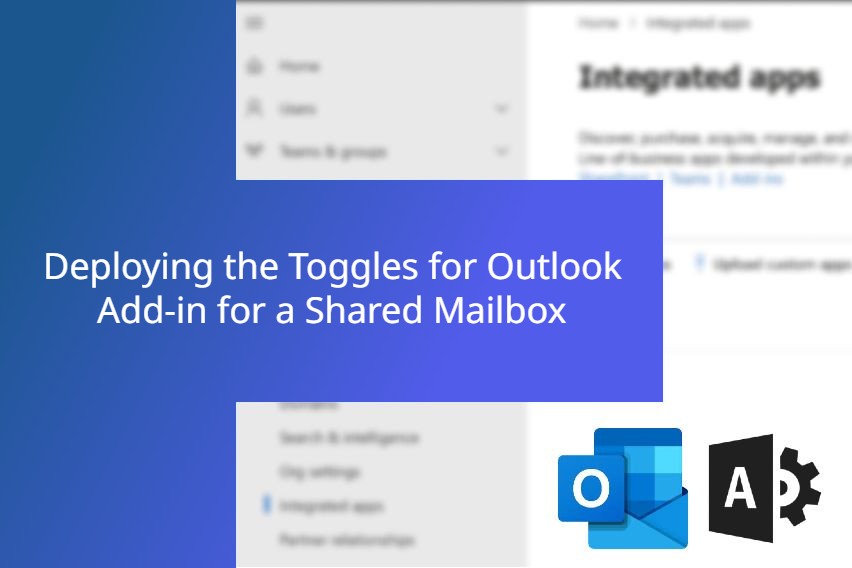
2. In the navigation panel, click on Settings and then select Integrated Apps.
Step 2: Add Toggles for Outlook to User and Shared Mailboxes
The add-in must be deployed to both the user’s mailbox and the shared mailbox.
1. From the Integrated Apps page, click on Deploy Add-In.
2. Select Choose from the Store.
3. In the Search the Store field, type “Toggles for Outlook” and press Enter.
4. Locate Toggles for Outlook in the search results and click Add.
5. Review the details of the add-in and click Deploy to confirm.
Step 3: Assign the Add-in to the Shared Mailbox
Once you've added the add-in to your organization's available add-ins, you can configure how and when it is deployed to your users.
1. Assign Users: Choose whether to deploy the add-in to all users or specific groups within your organization.
Note: If you are not deploying the add-in to all users, you will need to assign the add-in to the shared mailbox AND the individual users who will access it.
2. Deployment Method: Choose how the add-in will be deployed to users. Options include:
Fixed (Default): The add-in will be automatically deployed to the assigned users and they will not be able to remove it from their ribbon.
Available: Users may install the add-in by clicking the "Get More add-ins" button on the home ribbon in Outlook and going to "Admin managed".
Optional: The add-in will be automatically deployed to the assigned users but they can choose to remove it from their ribbon.
Step 4: Monitor Deployment Progress
Once the add-in has been deployed to both the user and shared mailboxes, you can track the deployment progress in the Microsoft 365 Admin Center. Check to ensure the add-in is enabled and accessible for the intended users. This may take up to 24 hours.
Additional Resources
For detailed instructions on deploying the Toggles for Outlook add-in for individual users, check out our Deployment Guide for Users.